Sometimes I wonder what life would be like if all food came on a stick? Wouldn’t it be easier to devour and definitely easier clean-up. These are just a few thoughts that came to mind when I first heard of the ‘Cake-Pop’. Now I know it’s been around for awhile, even Starbucks got in on the venture. There are even cake pop machines! But to my understanding, they aren’t the same as the original cake pop creation, which if you did not know, began by Bakerella. I started following her blog awhile back. Her creations are amazing, and after my first attempt here, I can see these babies are no easy task!
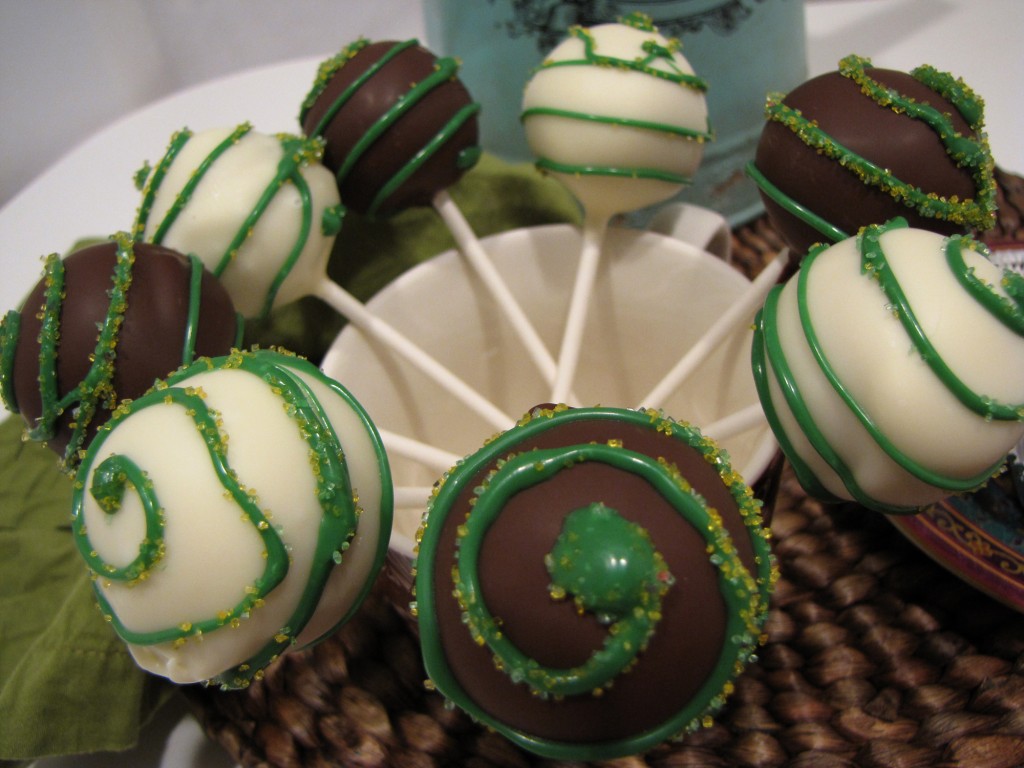
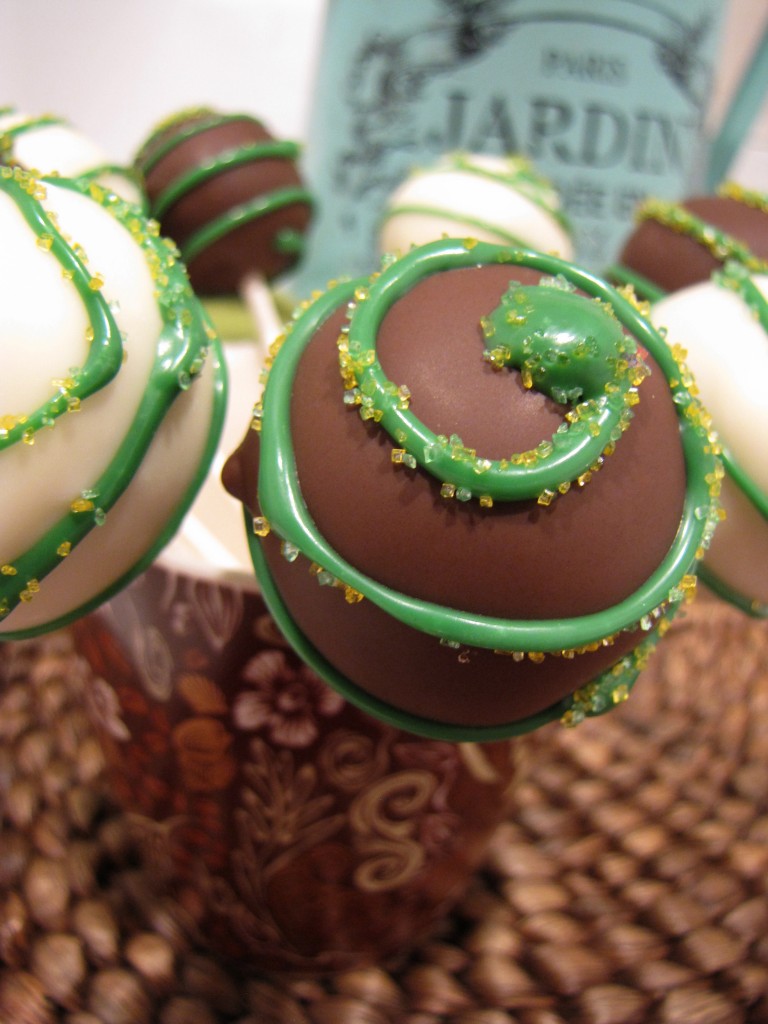
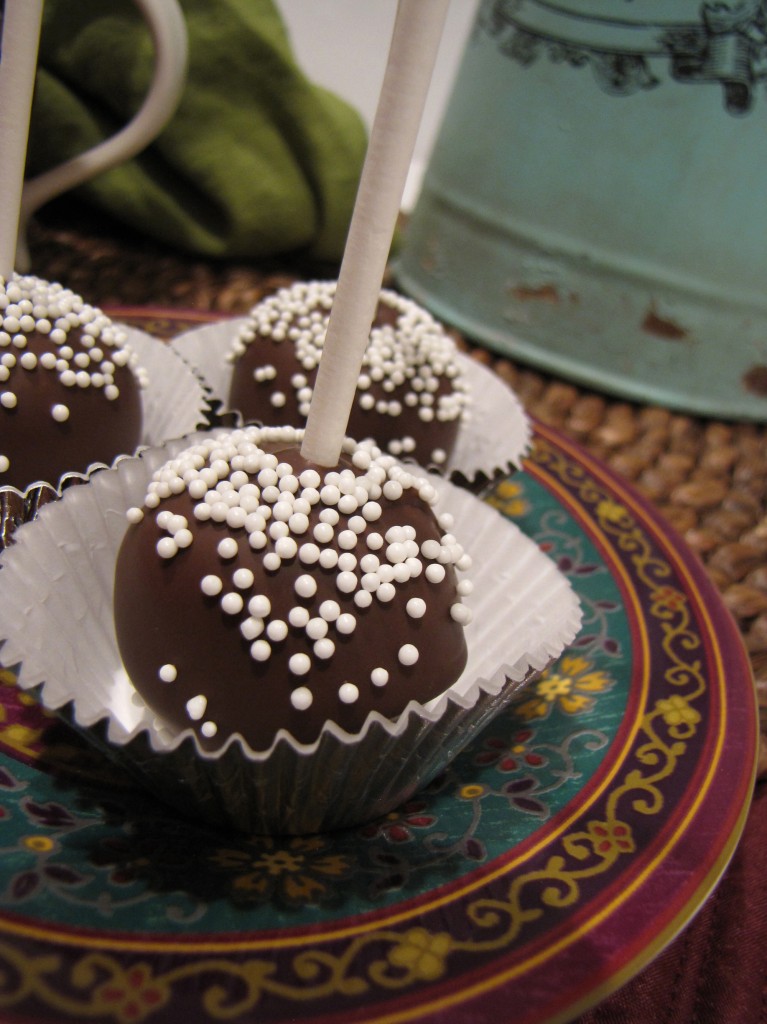
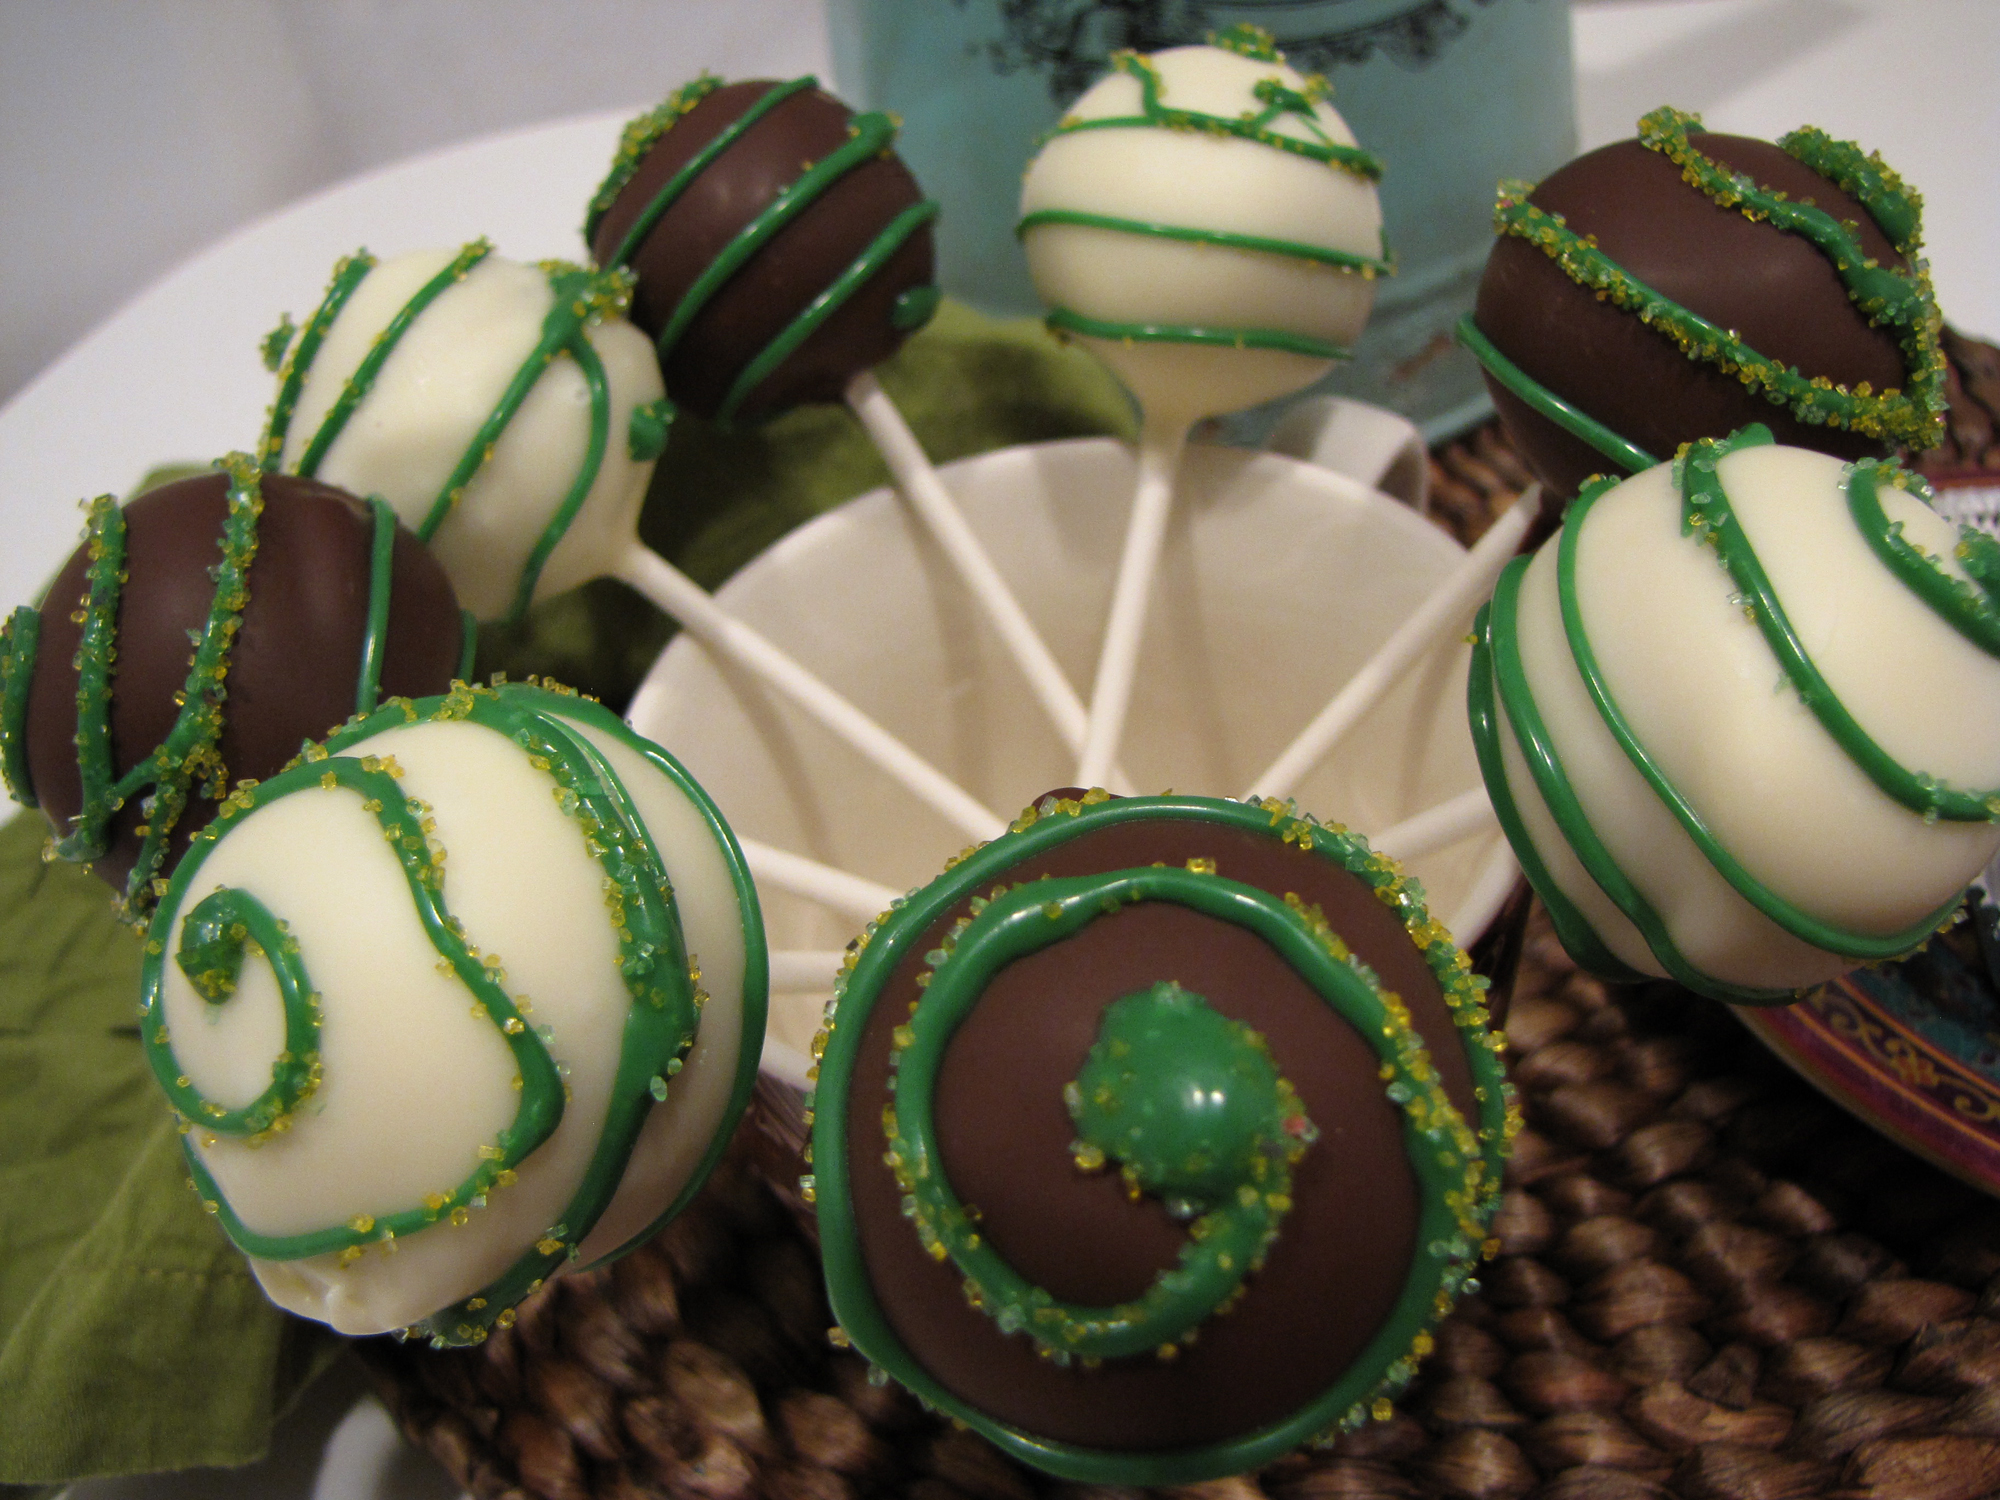
With St. Patrick’s day approaching, I thought what better to make than my very first batch of cake pops. I wasn’t quite ready to do all the fancy decorations, like making them into leprechauns or pots of gold. Just a simple cake, dipped in chocolate, with possibly some sprinkles on top. I even got a bit fancy and used green chocolate to ‘accent’ them (which the design came about accidentally in configuring the best way to pipe it on). After returning home from a quick run to get a few more items, to my dismay I forgot the styrofoam! This was a important element in creating these. What to do? So I had to configure something to hold them up with; a tin cake pan. You know, the kind that you use once then throw out. I happened to have one lying around. So I poked a few holes in that and crossed my fingers that it would work. And let’s say, it ‘sorta’ worked. I ended up holding them until they were almost dry. In the process however, I tried a different approach by placing them ‘cake-side-down’ in a mini cupcake liner so I wouldn’t have to hold them…and I loved it! The look, in my opinion, gives it a bit more ‘sophistication’, if cake-pops can be ‘sophisticated’. The only issue was I wasn’t able to create the same design, so decided to sprinkle some simple white pearls to add to the, as I say ‘sophistication’. You can see the design variety below.
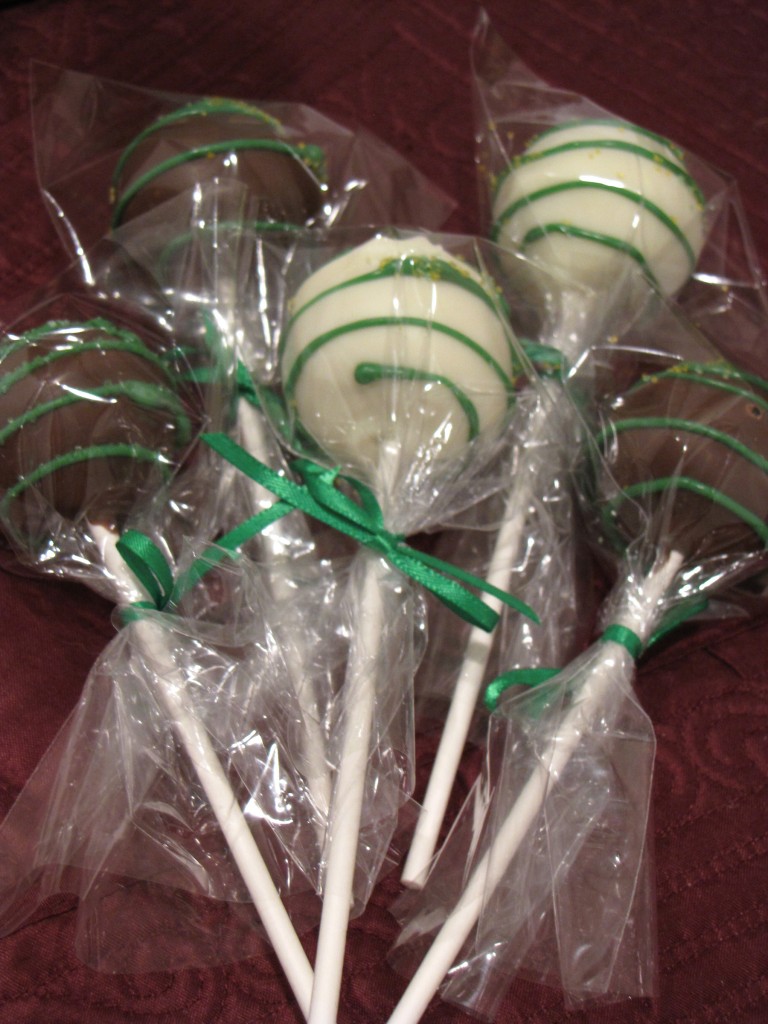
Then to get even more ‘fancy-schmancy’, yes I said ‘schmancy’…I wrapped them in lollipop bags and tied them off with ribbons. Let’s just say the end results look as if they were purchased in a cozy little Bakery or, as one of my co-workers asked, ‘Did you get these at Starbucks?’! Now that, is when you know your baked goods have made it. All in all, I enjoyed the cake-pop making experience and can’t wait for my next adventure in ‘pops’. Happy baking and have a Fabulously Sweet day!
CAKE-POP PREP
Vanilla Bean Cake
Yield: 24 Cake-Pops
1 1/2 cup all-purpose flour
1/2 teaspoon baking powder
1/4 teaspoon baking soda
1/2 teaspoon salt
1 cup sugar
1 stick butter, melted
1 egg
1/4 cup sour cream
3/4 cup milk
1 1/2 teaspoons pure vanilla extract or vanilla bean paste
1. Preheat oven to 350 degrees. Prep a cake 9×12 cake pan. Cream butter and sugar until fluffy. Add in the egg and vanilla until incorporated. Add in flour, baking soda, baking powder and salt. Combine just until it looks sticky to the touch. Slowly add the milk (it’s best to do this while the mixer is stirring, helping to incorporate it fully.) Add in the sour cream. Mix on high for last minute to make a smooth batter. Fill one 9×12 cake pan; to prep the cake pan, grease with butter or shortening (I prefer butter). Lightly dust with flour, making sure to cover entire bottom and sides. This will help the cake bake nice and evenly as well as easy extraction of the cake.
2. Bake 30 minutes for 9×12 cake pan, or until center of cake bounces back when touched. Transfer to a wire rack and let cool completely.
Strawberry Buttercream
4-6 large strawberries at room temperature or 1/4 cup Strawberry preserves
1 stick butter, at room temperature
1/2 teaspoon pure vanilla extract
3-4 cups powdered sugar
2 tablespoon heavy cream
In a food processor, pulse strawberries until pureed. If not using fresh strawberries, add in the preserves after butter is creamed fully. Add in vanilla, and about 2 cups of the sugar. Pulse until well combined. Incorporate cream. Add in small amounts of powdered sugar, pulsing after each addition, to reach the desired consistency. Frosting should be smooth and soft, yet hold its shape.
CAKE-POP ASSEMBLY
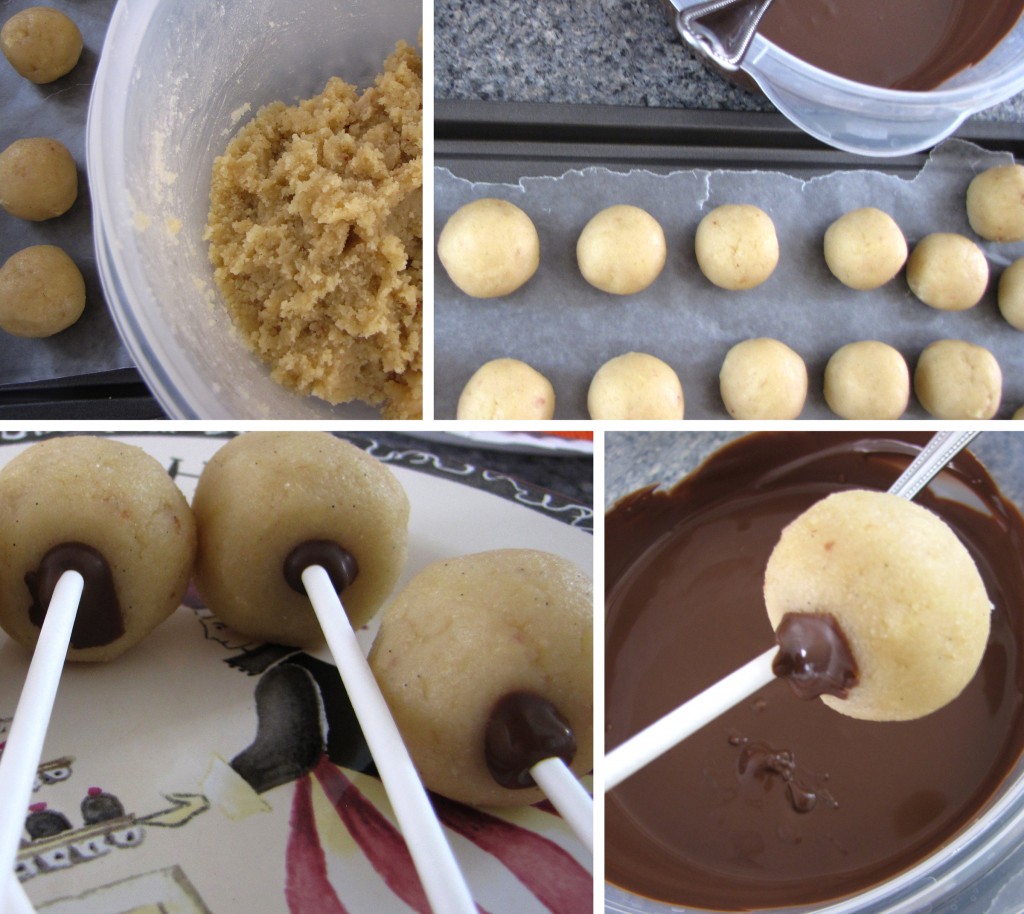
Once cake is completely cooled, crumble into a large mixing bowl. Add 1/2 cup of the frosting and mix just until combined. (do not over-mix or add extra frosting or mixture will be too moist to hold its shape.) Using a small ice cream scoop or a large spoon, scoop up a small amount, then using your hands, shape into a ball and place on a cookie sheet. (I like to place parchment paper or wax paper on the sheet so nothing sticks in the chilling process.) Place cake balls in fridge for a minimum of 2 hours, or cover and leave overnight.
Melt chocolate, melting candies or almond bark in a double-broiler over low heat. When ready, pull out the cake balls, making sure they are still firm and cold to the touch. Dip lollipop sticks in the chocolate about a 1/4″ in; then stick into the flat end of the cake ball, making sure not to go in too far. Once you have prepped a few and they the chocolate on the sticks are dry, you can then dip and cover with chocolate.
This is the time, if sprinkles are your decoration of choice, to then sprinkle and let dry. If you are wanting to create a piped design or attache any other candy, place in the styrofoam and or mini liners to dry. Once dry, they are ready to decorate.
And thats it! Seems like a lot of steps, but it really does go by quickly, especially if you make the cake balls the day before and dip and decorate the next. It’s well worth the time and effort; these are super cute and fun treats for any occasion.
What kind of cake-pops will you make? Share your stories and or pictures. Us bakers always enjoy some new and ‘Fabulous’ inspirations. Have a Fabulously Sweet Day!
